Hello my lovely readers.
How are you all doing? Welcome to DIY-July. I will be posting a lot of DIY posts this month.*Drumroll*
Also I will be launching my new collection this month so keep checking my facebook page and Instagram to know the details.
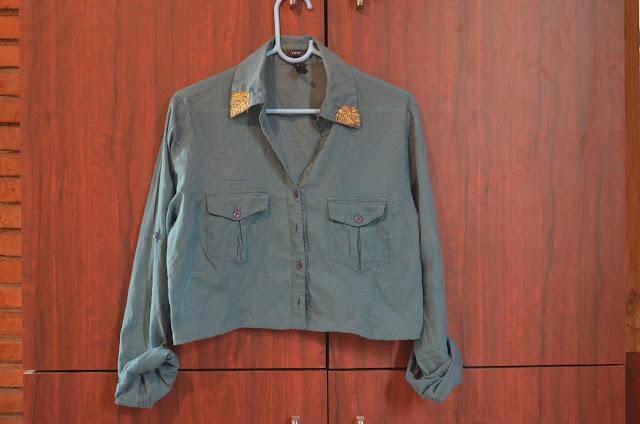
So about this post,this DIY is about how to make a cropped shirt. It is pretty easy. Just follow these basic steps and you can up-cycle your old boring shirt.
Materials required are :1. Any old shirt ( I used this one as it got torn from the back the last time I wore and it and also I was not ready to part with it yet. If you are a cloth hoarder like me, you will get it :P )
2. Scissors
3. Measuring Tape
4. Chalk
5. Thread and Needle
6. Golden thread (optional)
Follow this super easy step by step instructions to make one for yourself.
1. Get a shirt you want to make into a cropped shirt.
2. Measure the length using a measuring tape. I measured 18.5 inches so that I get the final length 16 inches after hemming.
3. Mark the length using a fabric chalk.
4. Cut the fabric using scissors along the markings.
This is how it would look after cropping.
5. Hem the edges using a thread and needle.
6. *Optional Step * I used this gold thread to make leaf like pattern at the tips of the collar. Make straight parallel inclined lines on both sides and viola.!
So this how the crop shirt turned out. Looks pretty decent, eh?
I will style it soon in one of my future posts.
Here are some ideas on how you can style your cropped shirt (image courtesy : http://riamichelle.com/, http://blog.gypsywarrior.com/ , http://thefashiontag.com/ )
Also I will be launching new collection this month on my facebook page so please check it and give me your feedback.
If you try this DIY, to tag me and I will repost it.
Until next time.
xxx.


No comments:
Post a Comment